TL:DR
Calling patients to book appointments is a massive waste of time. 90% of calls go to voicemail, and those that don’t are extremely repetitive (and boring)!
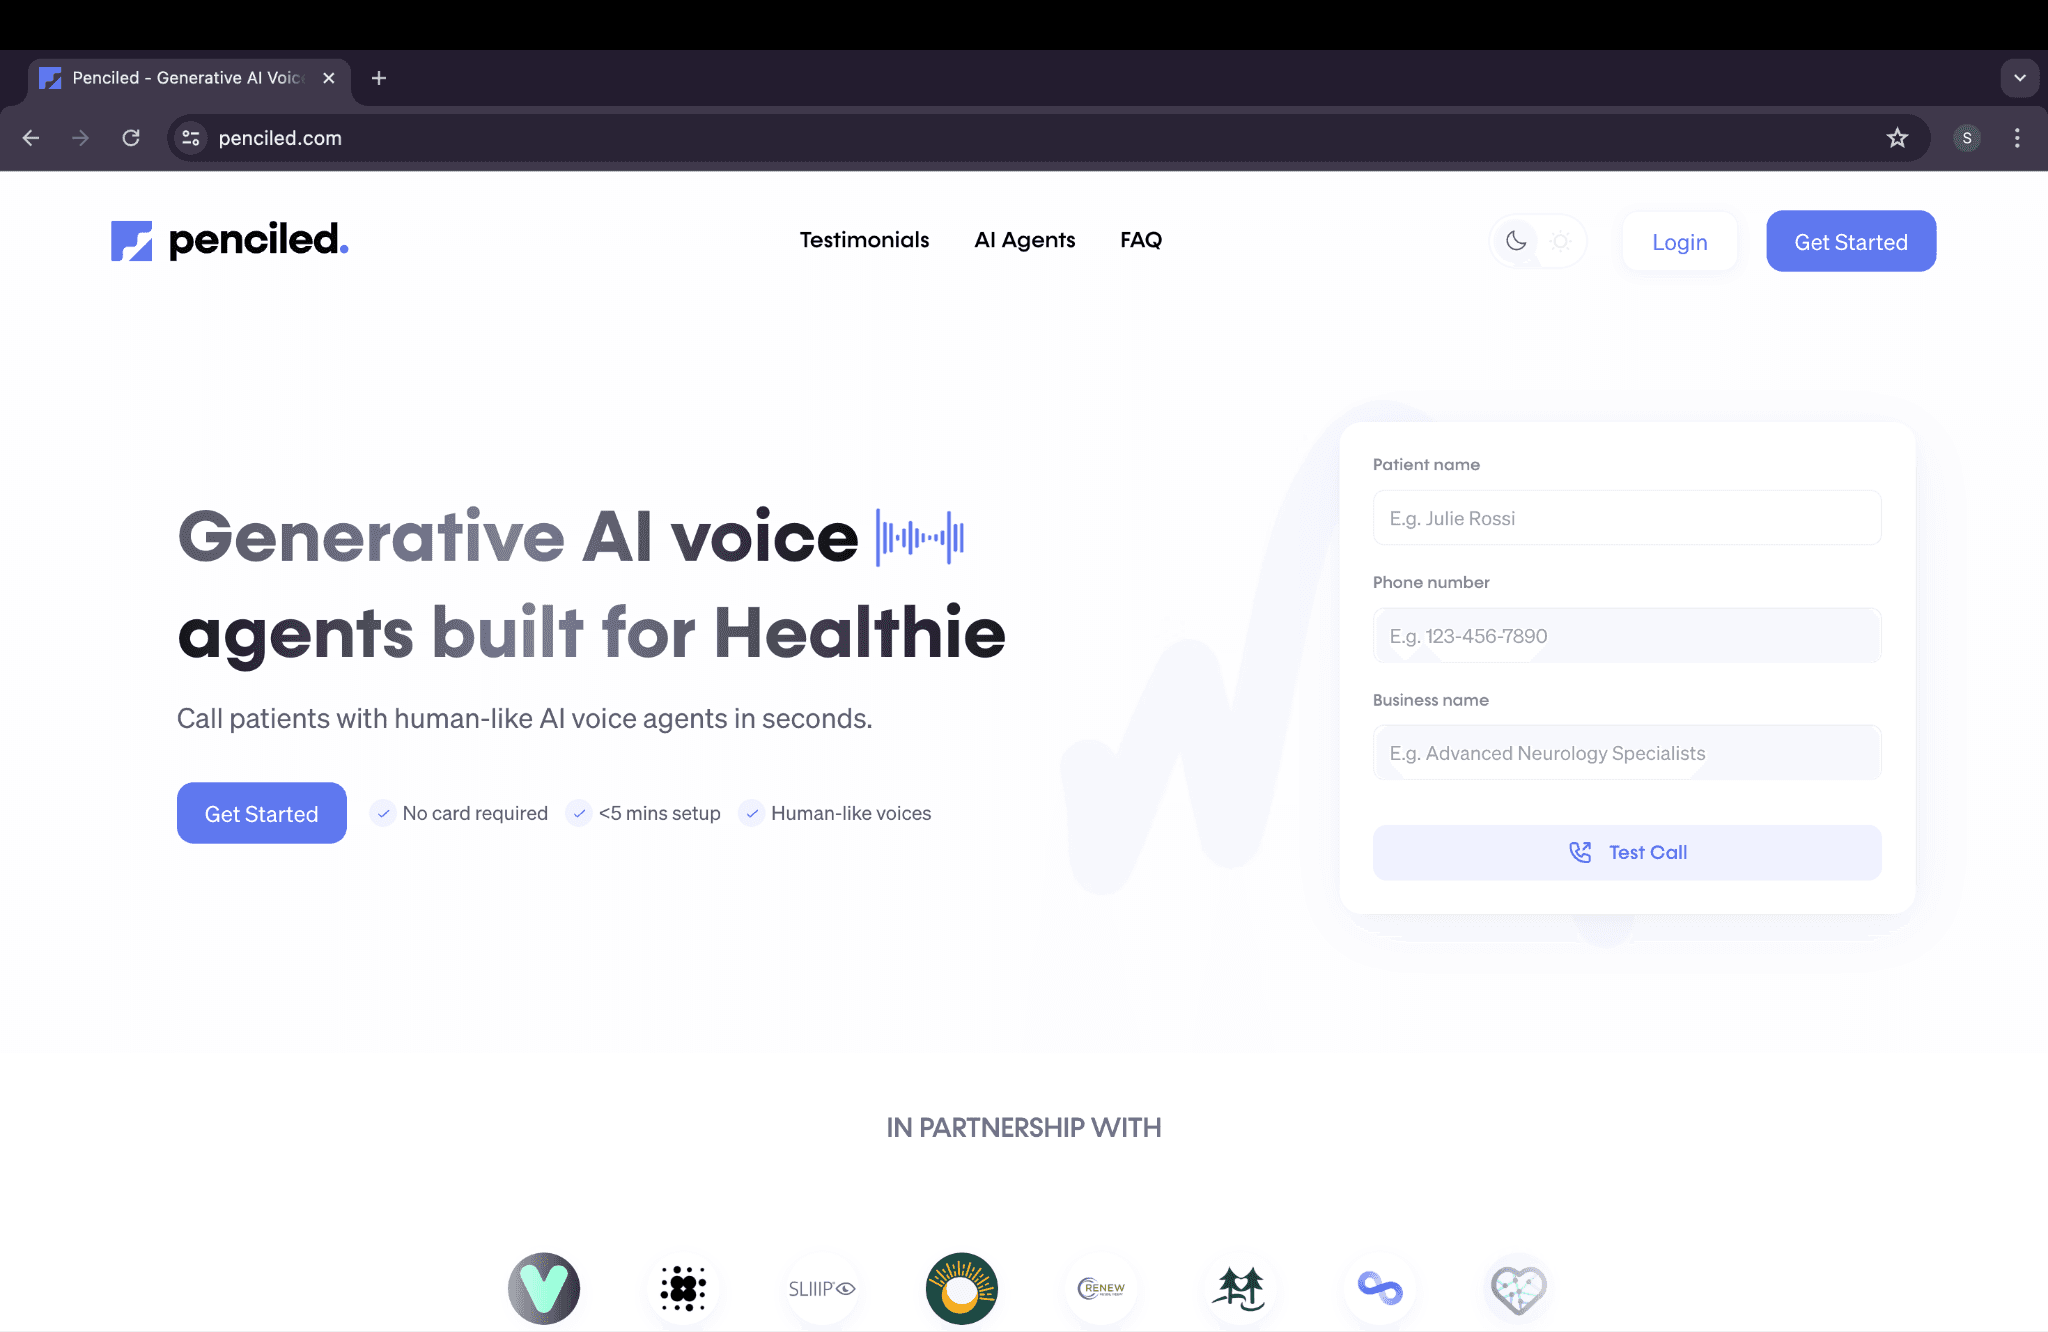
That’s why we built Penciled- the easiest way to call patients and schedule appointments with AI voice agents.
Getting started

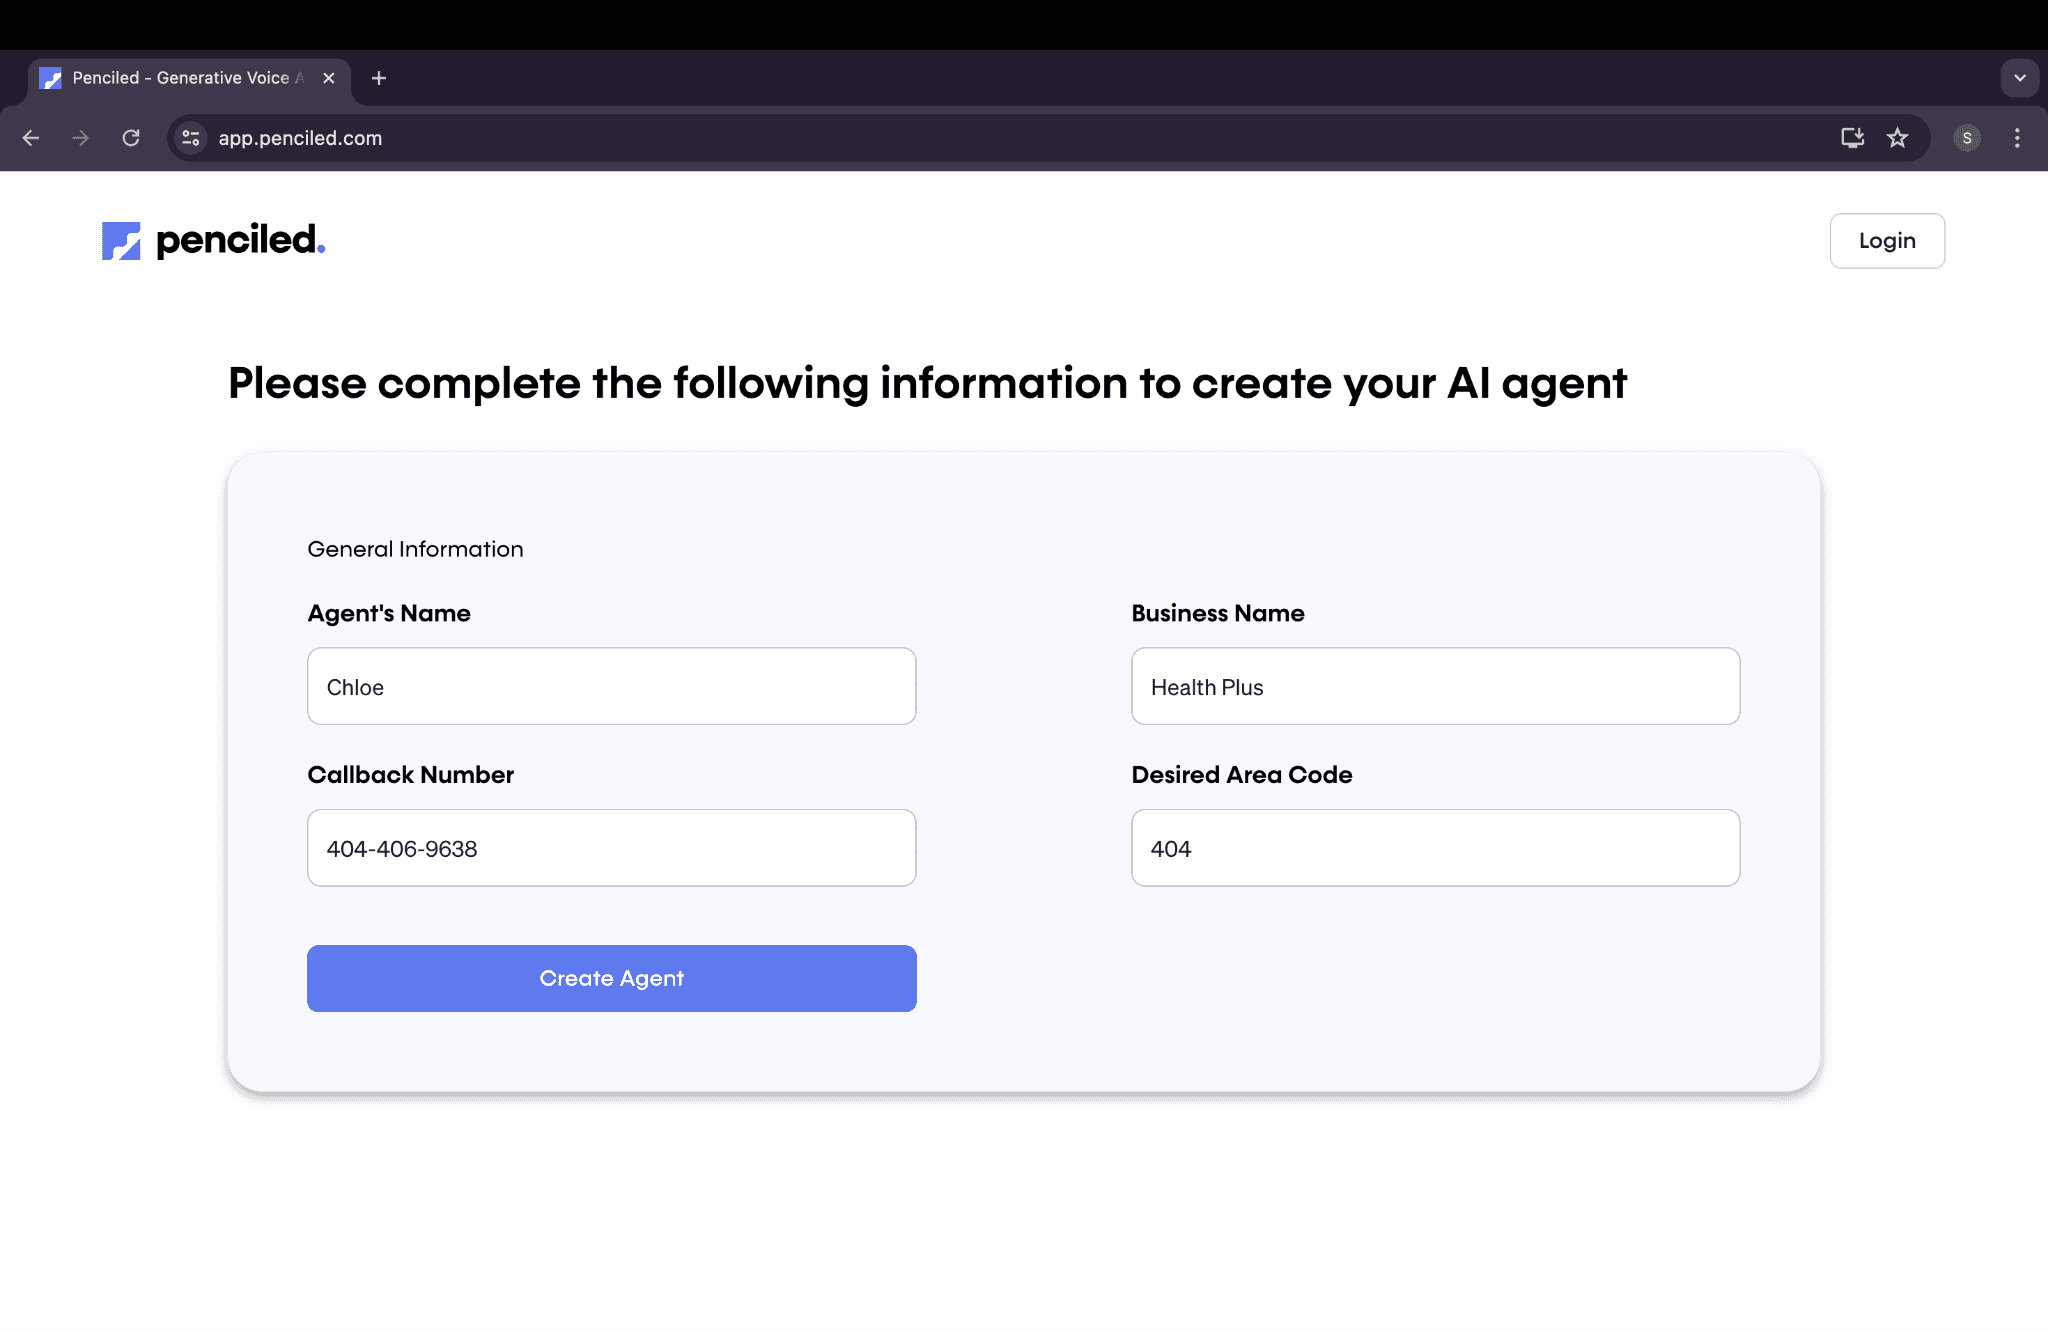
Here’s where you get to be creative! Name your agent anything you’d like (this name is used in the calls), add your business name, and input your clinic’s phone number and area code.
Keep in mind that this data will be used for your agent’s introduction to patients. For example, if you input “Chloe” as the agent name, “Health Plus” as the business name, and “123-456-7890” as the phone number, you can expect Chloe to start off calls like:
“Hi, I’m Chloe, an AI assistant calling from Health Plus. I’m calling to help you book an appointment. Is this [patient first name]?”

After creating your first agent, you’ll be prompted to fill out basic account information, including a HIPAA BAA checkbox.

Next, choose whether you have an API key or not. An API key is a short combination of letters and numbers (like a password) that you get from Healthie. If you have an enterprise plan, you should be able to access it immediately in your Healthie account. Check out this guide to get your API key from your Healthie account!
If you aren’t on an enterprise plan or you don’t have an API key, don’t worry! Just click “no,” and the Healthie team will automatically reach out to you directly with your API key.

Once you have an API key, you’ll be asked in the next step to input it. Go ahead and paste the key into the field and click “Submit Token.”

After you’ve inputted your API key, the next step is to pick the provider you would like to schedule appointments for. Go ahead and click the dropdown menu to select the individual provider. Don’t worry- you can create multiple agents later if you have multiple providers.

Now that you’ve picked a provider, make sure to select the type of appointment you’d like the agent to schedule. Keep in mind that the agent will retrieve availabilities from Healthie for this appointment type specifically.

Once you’ve picked an appointment type, click “Create Agent” so you can get started! Once the agent finishes loading, you’ll be able to make your first phone call. Go ahead and input some test information into the “Call new patient” form. Keep in mind that the “Scheduled call time” is the time that the call will be triggered.


If you’d like to go ahead and run the call immediately, feel free to click “Run now” to trigger the call immediately.

Wait a few seconds for the call to go through, and make sure your phone isn’t on silent!
Need help along the way? Feel free to message us!
Fill 10x more canceled appointments
Save valuable resources, and improve patient engagement with AI voice agent that sound human.
Book a Demo

